Earlier this week, we launched Akamai App Platform, a one-click extension for Linode Kubernetes Engine (LKE) to easily add developer and operations-centric tools, automation, and self-service to streamline your application lifecycle when using Kubernetes. Akamai App Platform connects many of the technologies found in the Cloud Native Computing Foundation (CNCF) landscape in a way to provide direct value.
In this blog post we’ll walk you through the steps of provisioning a LKE cluster with the Akamai App Platform and then build, deploy and publicly expose an application.
Provision a Kubernetes Cluster Using Akamai App Platform
Akamai App Platform is now available in beta. So before we can begin, first make sure you log in to your account, or sign up for an Akamai cloud computing account. After you’re logged in, register for the beta program on the Betas page.
Now select Kubernetes from the left navigation menu and select Create Cluster. The Create a Kubernetes Cluster page appears. At the top of the page, you are required to select the following options:
- In the Cluster Label field, provide a name for your cluster. The name must be unique between all of the clusters in your account. This name is how you identify your cluster in the Cloud Manager dashboard.
- Select your Region from the dropdown menu.
- Select the Kubernetes version to deploy to your cluster from the dropdown menu.
- In the App Platform for LKE section, select “Yes, enable App Platform for LKE”
- In the “Add Node Pools” section, select the hardware resources for the Linode worker node(s) that make up your LKE cluster. During the beta phase the App Platform for LKE requires a node pool with at least 3 worker nodes with a minimum of 16 GB memory per node. Shared CPU is currently not supported.
- Select Add to include the node pool in your configuration.
- After a node pool has been added to your configuration, it is listed in the Cluster Summary on the right-hand side of Cloud Manager detailing your cluster’s hardware resources and monthly cost.
- When you are satisfied with the configuration of your cluster, select Create Cluster on the right hand side of the screen. Your cluster’s detail page appears, and your Node Pools are listed on this page.
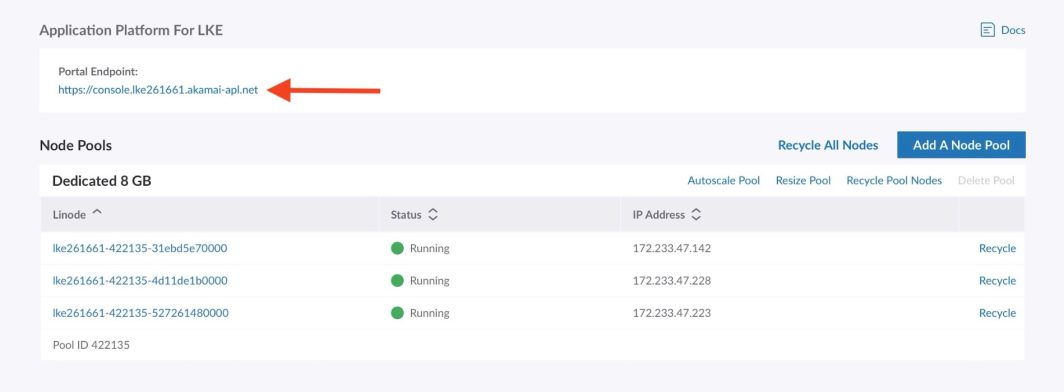
Now the LKE cluster will be created and, once ready, App Platform will be installed. The installation of the App Platform for LKE takes around 10 to 15 minutes. When the installation is finished, the URL of the Portal Endpoint will appear in the App Platform for LKE section of the cluster’s detail page. The progress of the installation will be checked every 60 seconds. When the installation is still in progress, the URL of the Portal Endpoint will not be displayed. Instead the message “Installation in progress” will appear.
When the installation of both the LKE cluster and the App Platform is ready, click on the provided URL of the Portal Endpoint:
You will now see the following sign-in page:
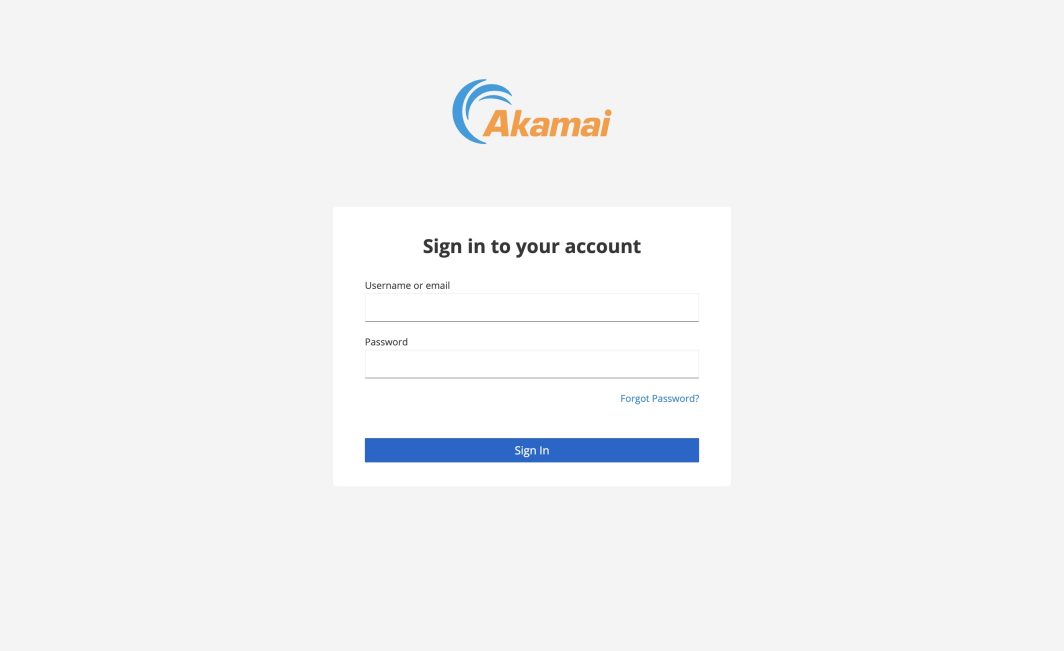
To sign-in you’ll first need to obtain the initial credentials. On the cluster’s detail page, navigate to the ellipsis options menu and select Download Kubeconfig. The file is saved to your computer’s Downloads folder.
Open a terminal shell and save your Kubeconfig file’s path to the $KUBECONFIG environment variable. In the example command, the Kubeconfig file is located in the Downloads folder, but you should alter this line with this folder’s location on your computer:
export KUBECONFIG=~/Downloads/kubeconfig.yamlNow perform the following command to obtain the user name:
kubectl get secret platform-admin-initial-credentials -n keycloak --template={{.data.username}} | base64 -dAnd perform the following command to obtain the password:
kubectl get secret platform-admin-initial-credentials -n keycloak --template={{.data.password}} | base64 -dNow use the obtained credentials to sign in to the Console and change the initial password.
Configure Object Storage for App Platform
When you’re signed in to the Console, the first thing you’ll need to do is configure Object Storage. A message will be displayed asking you if the App Platform should configure object storage for you.
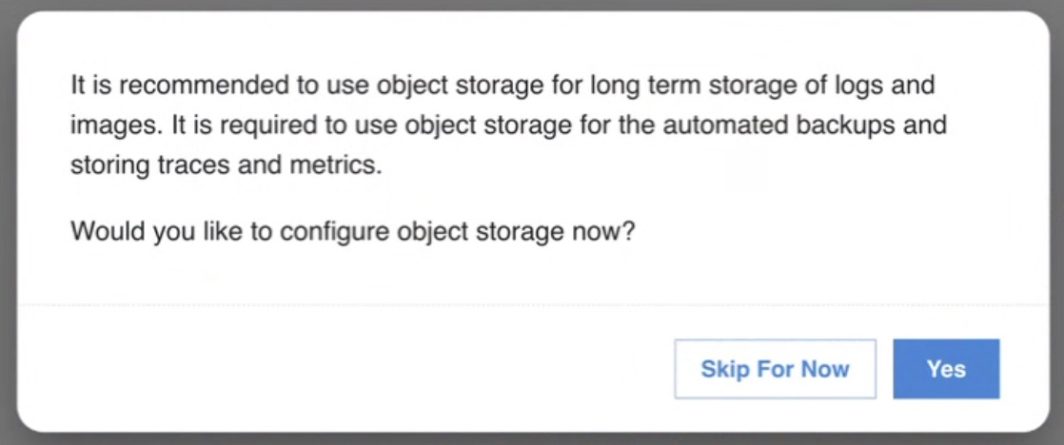
This is not required, but strongly recommended as this will prevent out of disk space errors when using Storage Volumes for integrated applications. Using Object Storage also has the advantage to create backups of all databases used by the platform and all Git repositories.
If you don’t want the App Platform to configure object storage for you, then select Skip for Now. Note that in this case some features like creating backups of databases will not be available. You can start the Wizard at any time in the Maintenance section.
- Click
Yes. - Follow the instructions to create a Personal Access Token and make sure to select Read/Write for the Object Storage category. Copy the API Token.
- Paste the Access Token into the wizard and select the region where the buckets should be created:
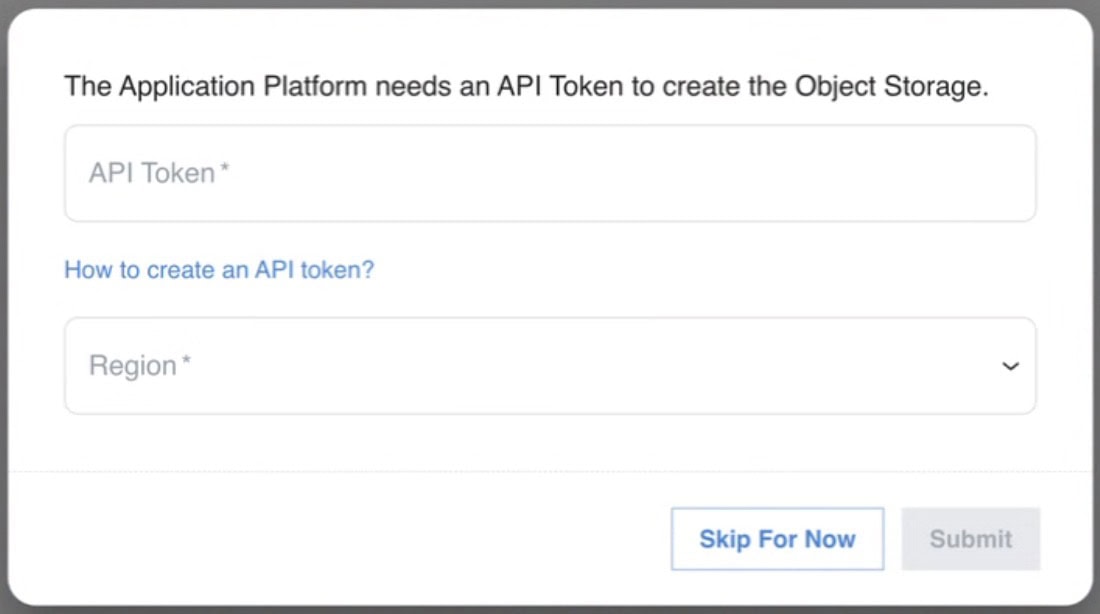
- Then click
Submit.
All the required Object Storage Buckets and an Access Key will now be created in your account and the App Platform will be configured to use the buckets to store backups, logs, metrics, traces and images. The provided Personal Access Token will not be stored. The created buckets will have the lke<cluster-id> prefix.
Enable Harbor
Now that the object storage is configured, we can compose the App Platform by enabling the required Apps. In this post we want to build an image from source code so we’ll need to enable the Harbor App because the Build self-service feature uses Harbor to store all container images.
- In the left menu click on
Apps. - Hover over the Harbor app and click on the enable button.
- In the top left click on
Deploy Changes.
Harbor will now be installed and configured for usage.
Create a Team
Now the next thing you’ll need to do is create a Team. A Team is a tenant on the platform. It’s like a Namespace as a Service. Each Team can have its own Team members and members will get access to the Console to use all the self-service features. We’ll talk more about Teams later posts. Let’s create a Team:
- Make sure to select
platformin theviewin the top bar. - Click on
Teamsin the left menu. - Click
Create Team. - Fill in a name for the Team. In the examples we’re using the team name demo. Note that a Team name has a maximum of 12 characters and the namespace created will have the name
team-<team-name>. - Skip all the other options and click
Submit. - Click on
Deploy Changesin the top left of the Console.
Create a Repository
Now that we have created a Team, we can switch to the team view and select our freshly created Team. In the team view you’ll also see an Apps section in the left menu just like in the platform view. The Apps in the team view are apps that are shared by all Teams on the App Platform and Apps that are only (dedicated) for the Team.
All Team members will have access to the Apps in the Team. Because we want to build an image, we’re first going to create a repository with a simple app using Nginx to serve a single HTML page:
- Click on the Gitea app. Gitea is a self-hosted Git service running on the App Platform and is ready to be used.
- Select “Sign In with OpenID”:
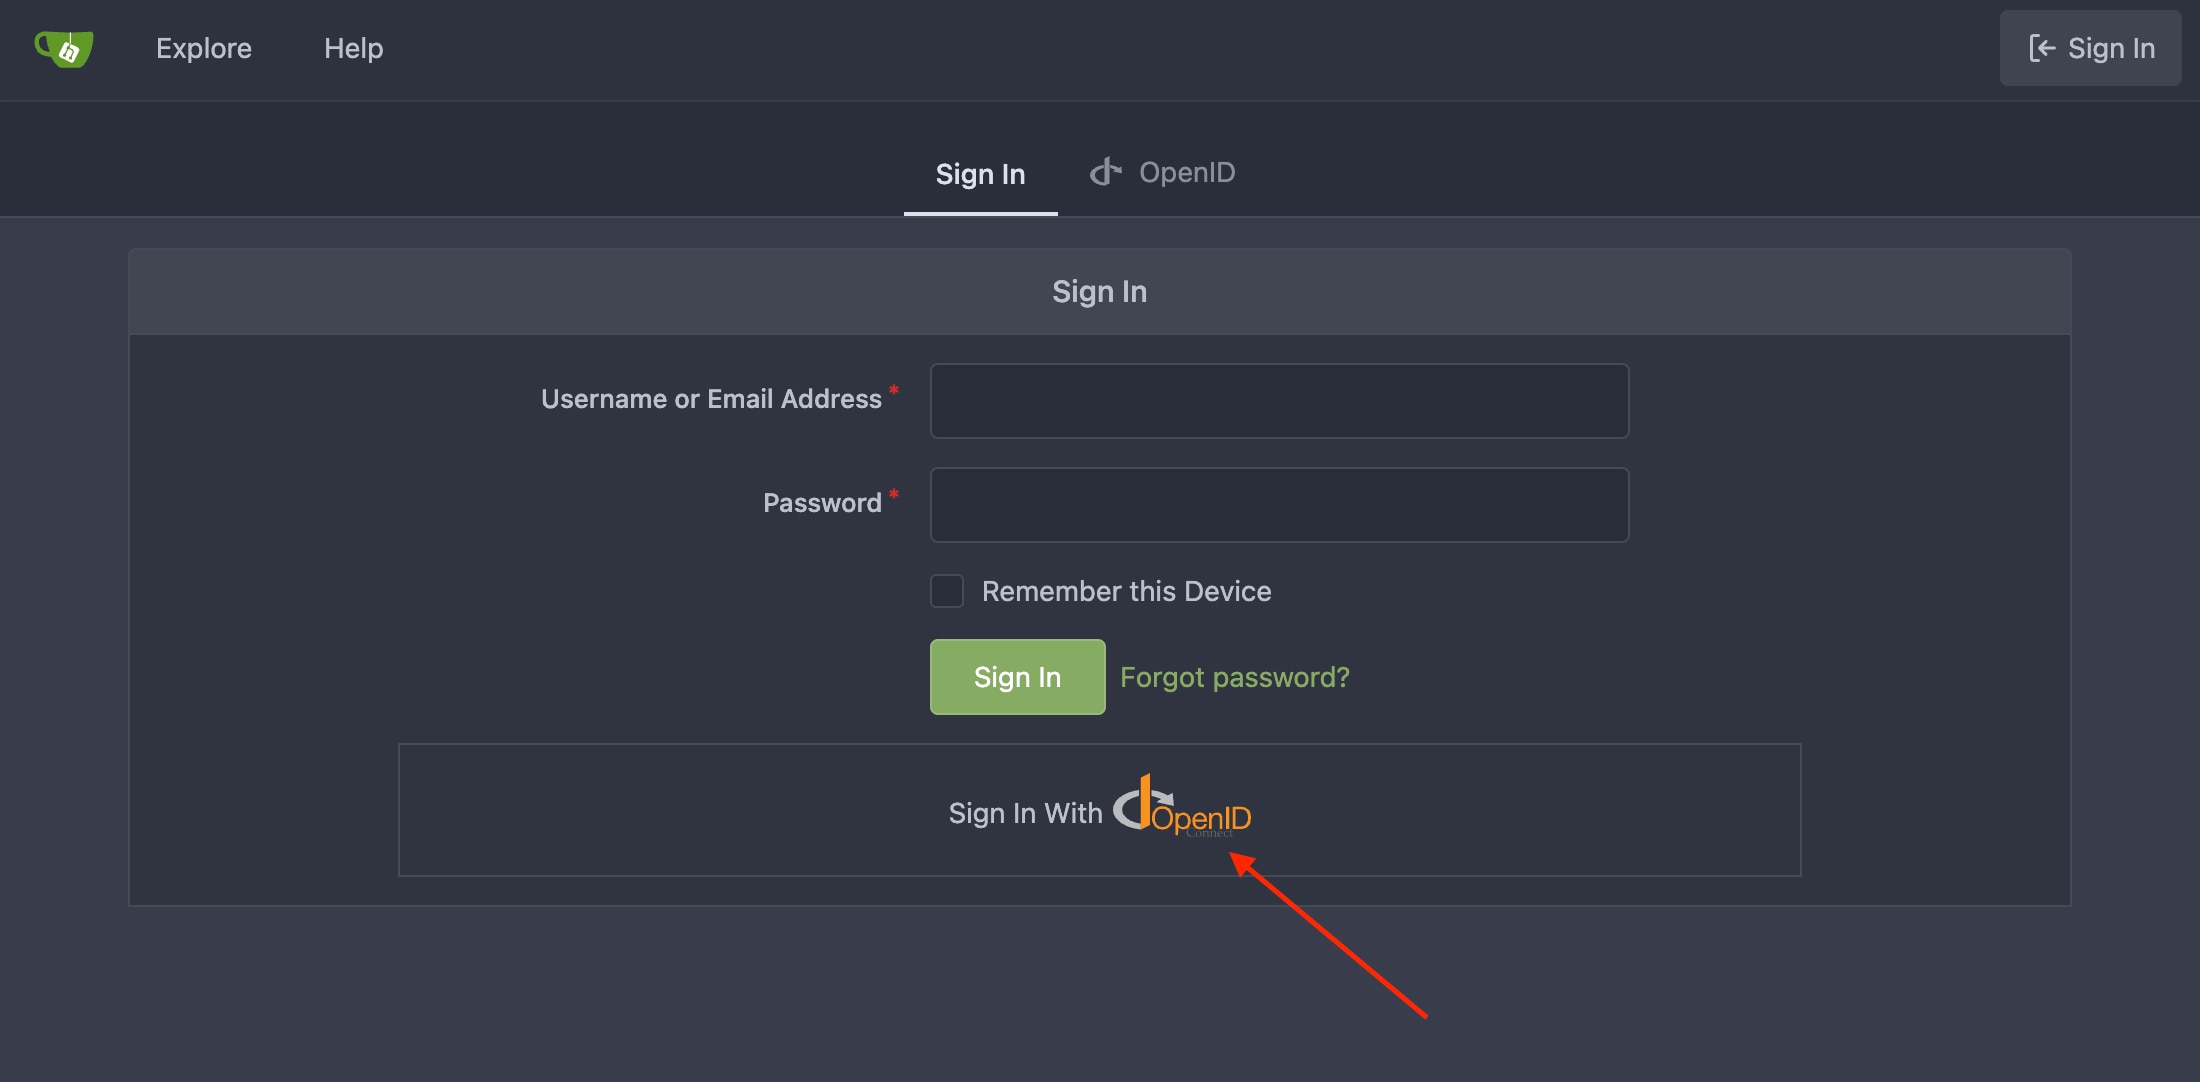
- Select “+ New Repository”:
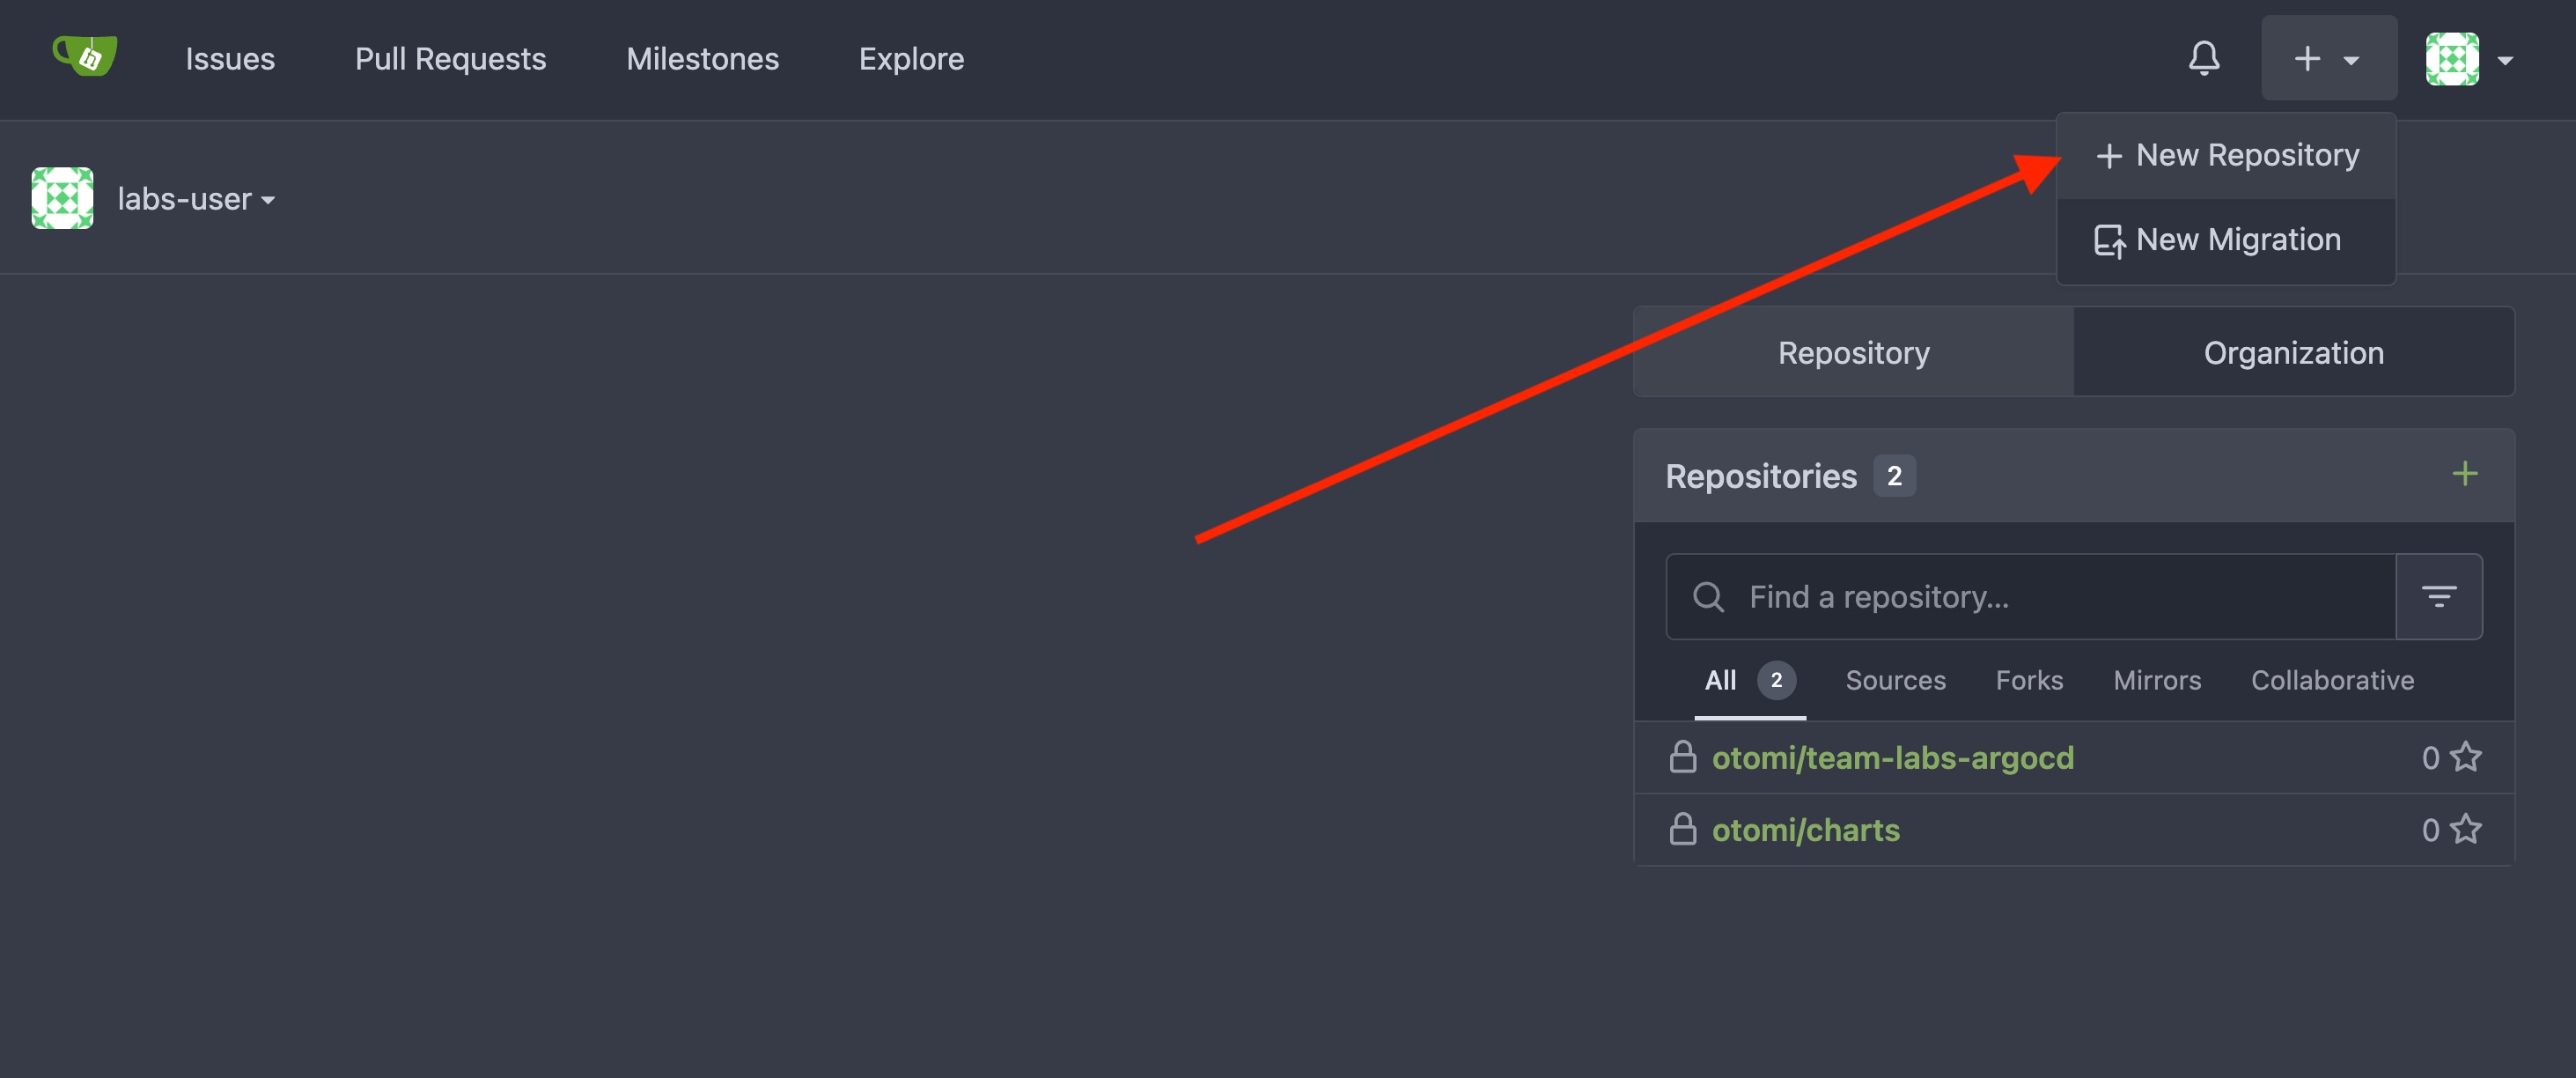
- Add a name for the repository. Let’s call the repository
demo - Select
Make Repository Privateand selectInitialize Repository. - Click on Create Repository.
Now let’s add some code to the repository. We’ll create a simple application using Nginx to serve a HTML page.
Add the file demo.html with the following contents:
<!DOCTYPE html>
<html>
  <head>
    <meta charset="utf-8" />
    <title>Sample Deployment</title>
    <style>
      body {
        color: #ffffff;
        background-color: #0099cc;
        font-family: Arial, sans-serif;
        font-size: 14px;
      }
      h1 {
        font-size: 500%;
        font-weight: normal;
        margin-bottom: 0;
      }
      h2 {
        font-size: 200%;
        font-weight: normal;
        margin-bottom: 0;
      }
      .centered-text {
          text-align: center;
      }
    </style>
  </head>
  <body>
  <div class="centered-text">
      <h1>Welcome to the App Platform</h1>
  </div>
  </body>
</html>
And add the file Dockerfile with the following contents:
FROM nginxinc/nginx-unprivileged:stable
COPY demo.html /usr/share/nginx/html/index.html
EXPOSE 8080
Build, Deploy and Publicly Expose the Application
Now we’re going to build, deploy and publicly expose the application. For this the App Platform offers a set of self-service forms. You can use the Builds self-service form to build images from source code, use one of the quickstart Helm templates from the Catalog to deploy your application, and use the Services self-service form to publicly expose the application.
Step 1: Building the Image
- Make sure to select
teamin theviewin the top bar. Remember that you are signed-in as a platform administrator and you can see both the platform and the team view. - Click on
Buildsin the left menu. - Click
Create Build. - Add a name for the Build. Let’s call this build
demo. - Use the (default) Docker Build mode and add the URL of the Git repository we just created. In the next release of the App Platform you’ll be able to select the URL based on the available repositories.
- Click
Submit. - Click
Deploy Changesin the top of the left menu bar.
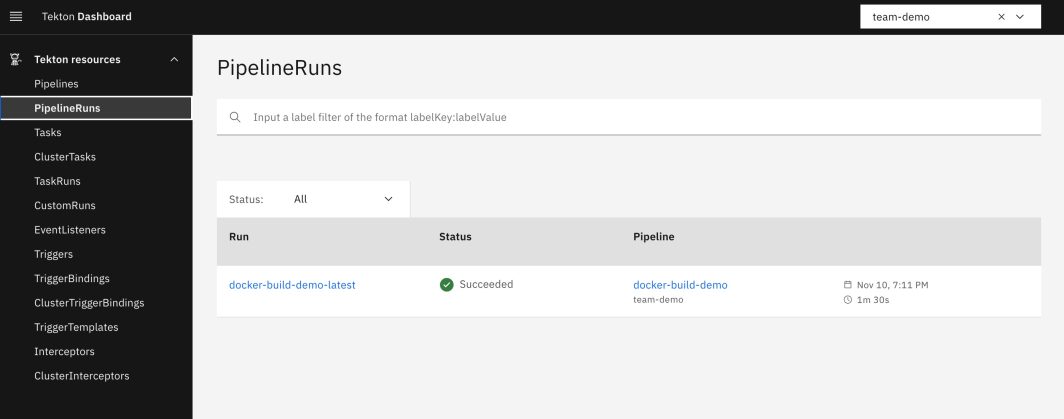
The App Platform will now create and run a Tekton pipeline to clone the application from the repository, build the image and push the image to Harbor. The image will be pushed to the private registry in Harbor that is only accessible for members of the Team.
You can now follow the status of the build by opening the Tekton Dashboard in the Apps section (in the team view!). You can also click on Builds in the left menu. There you’ll see the build created by the Project. Click on the PipelineRun link to see the status of the build.
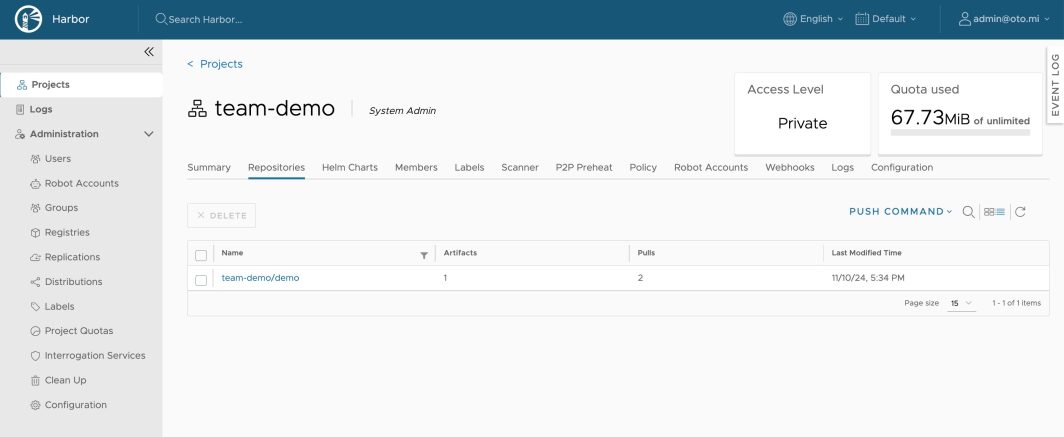
When the pipeline is ready, you can see the image in Harbor. Go to the Apps section in the left menu and click on Harbor. Remember that you’re signed-in as a platform administrator and you’ll see all the projects created by the App Platform. Click on the project of the team we created. Here you’ll see a repository called team-demo/demo.
Step 2: Creating a Workload to Deploy Our Image
- First go the list of Builds and copy the repository name of the image:

- Now click on
Catalogin the left menu. - In the Catalog, click on the
Quickstart-K8s-Deploymentchart.
- Click on the Values tab.
- Add a name for the Workload. Let’s stick with the name
demo. - In the
Chart values file set theimage.repositoryto the registry name we added to our clipboard and uselatestfor theimage.tag. - Click
Submitat the bottom of the chart values. - Click
Deploy Changesin the top of the left menu bar
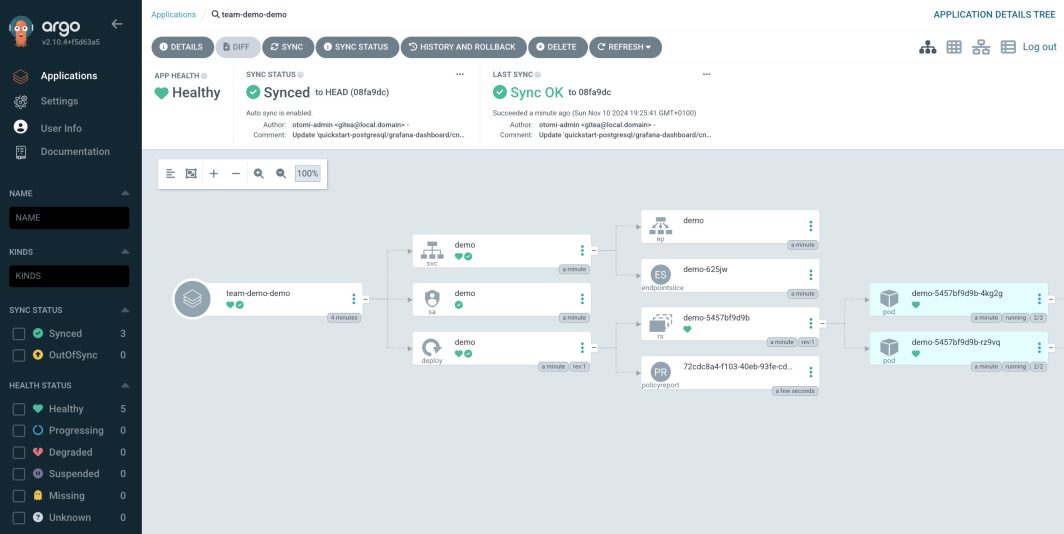
The App Platform will now create an Argo CD ApplicationSet to deploy the application. Note that the values and the chart are stored in separate Git repositories.
To see the demo application in Argo CD, click on Workloads in the left menu. There you’ll see the workload created by the Project. Click on the Application link to see the status of the workload.
Step 3: Publicly Expose the Application
To see our application live some things need to be done. The App Platform leverages an advanced ingress architecture using Nginx Ingress and Istio. To expose the application we’ll need to create an Ingress and an Istio VirtualService. Fortunately the App Platform automates this all.
- Now click on
Servicesin the menu. - Click
Create Service. - In the dropdown list, select the
demoservice
- Under
ExposureclickExternal. - Click
Submitand thenDeploy Changes.
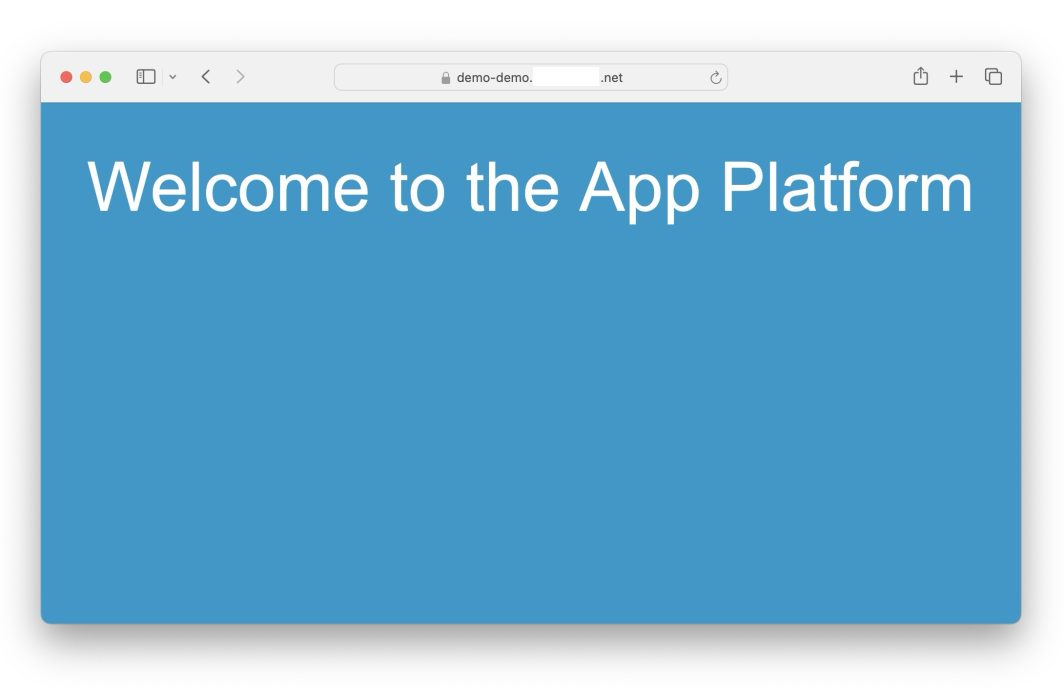
In the list of services you’ll see the service we just created and the URL used to publish the service. Click on the URL.
Recap
In this post we provisioned a LKE cluster and enabled the App Platform. Then we configured object storage, enabled the Harbor App, created a Team and created a code repository. Then we used the self-service forms in the App Platform to build, deploy and publicly expose an application.
After the App Platform is installed, you can configure object storage so all applications integrated in App Platform can use this configuration. No more trial and error to get object storage configured for applications like Grafana Loki, Thanos, Harbor and Tempo. With App Platform on Akamai, this is all done for you.
Using Teams for multi-tenancy allows you to let multiple groups of users work independently and let them share the same infrastructure and platform capabilities. Users can use the self-service forms to build, deploy and expose their applications within minutes.
Note that we’re just tipping the top of the iceberg here. App Platform has much more to offer. We’ll soon post more articles to dive deeper into the App Platform and show you how to create secrets, configure network policies, work with security policies and use the platform capabilities for CI/CD, observability and security.





Comments